
ROMAIn LEMAIRE - Substance DESIGNER and Dekogon
In this article Romain shares with us how he works as a freelance artist. Read through and learn about how to optimise parameter use in Substance Designer and how to plan ahead. Look into breakdowns of some of his materials and his workflows for implementing feedback.
Introduction
Hi! My name is Romain Lemaire, I’m a French Freelance 3D Artist. I learned the basics of 3D for the animation Industry at a French school named Pole3D. I wanted to be an animator at first but I discovered real-time rendering and turned to environment art and the technical side of it quickly after graduating.
I then started as a freelancer and I’m still one right now. It was a hard experience that I don’t recommend at the end of school but I found my way slowly and had the chance to work on a wide range of projects from short animation to animated TV series, AA games, indie games and even architectural pre-visualisation for pre-calculated or real-time rendering.
I also work for Dekogon as a contract and Kollab artist, and finally I’m a part time teacher in Game Art/Tech Art at my old school. I’m also starting some Substance Designer training with a new organisation based in France named Voxel FX.
For my gaming career I started on the family computer, not on console, so a lot of Strategy and RPG games from the end of the nineties. I have some great memories on games like Populous 3, Myth: The Fallen Lords (I highly recommend this one) and the Infinity Engine games like the saga Baldur’s Gate, Planescape: Torment and the Icewind Dale series.

Planning Materials and Parameters
If I need or plan a Substance with exposed parameters, I plan them right at the beginning at the idea stage. I found it really important to work on a Substance with exposed parameters in mind, sometimes that drastically changes how you make some of the details. Also I look for reference that will give me ideas for exposing and how some things work, like how wood ages, flesh moves, or the different shapes/types of fungus. Sometimes I add parameters that I didn’t really think about or I discovered the utility later, but I try to have thought about the Substance enough so that I don't have to redo entire parts of the graph just because the way I did it doesn't really fit with the exposed controls.
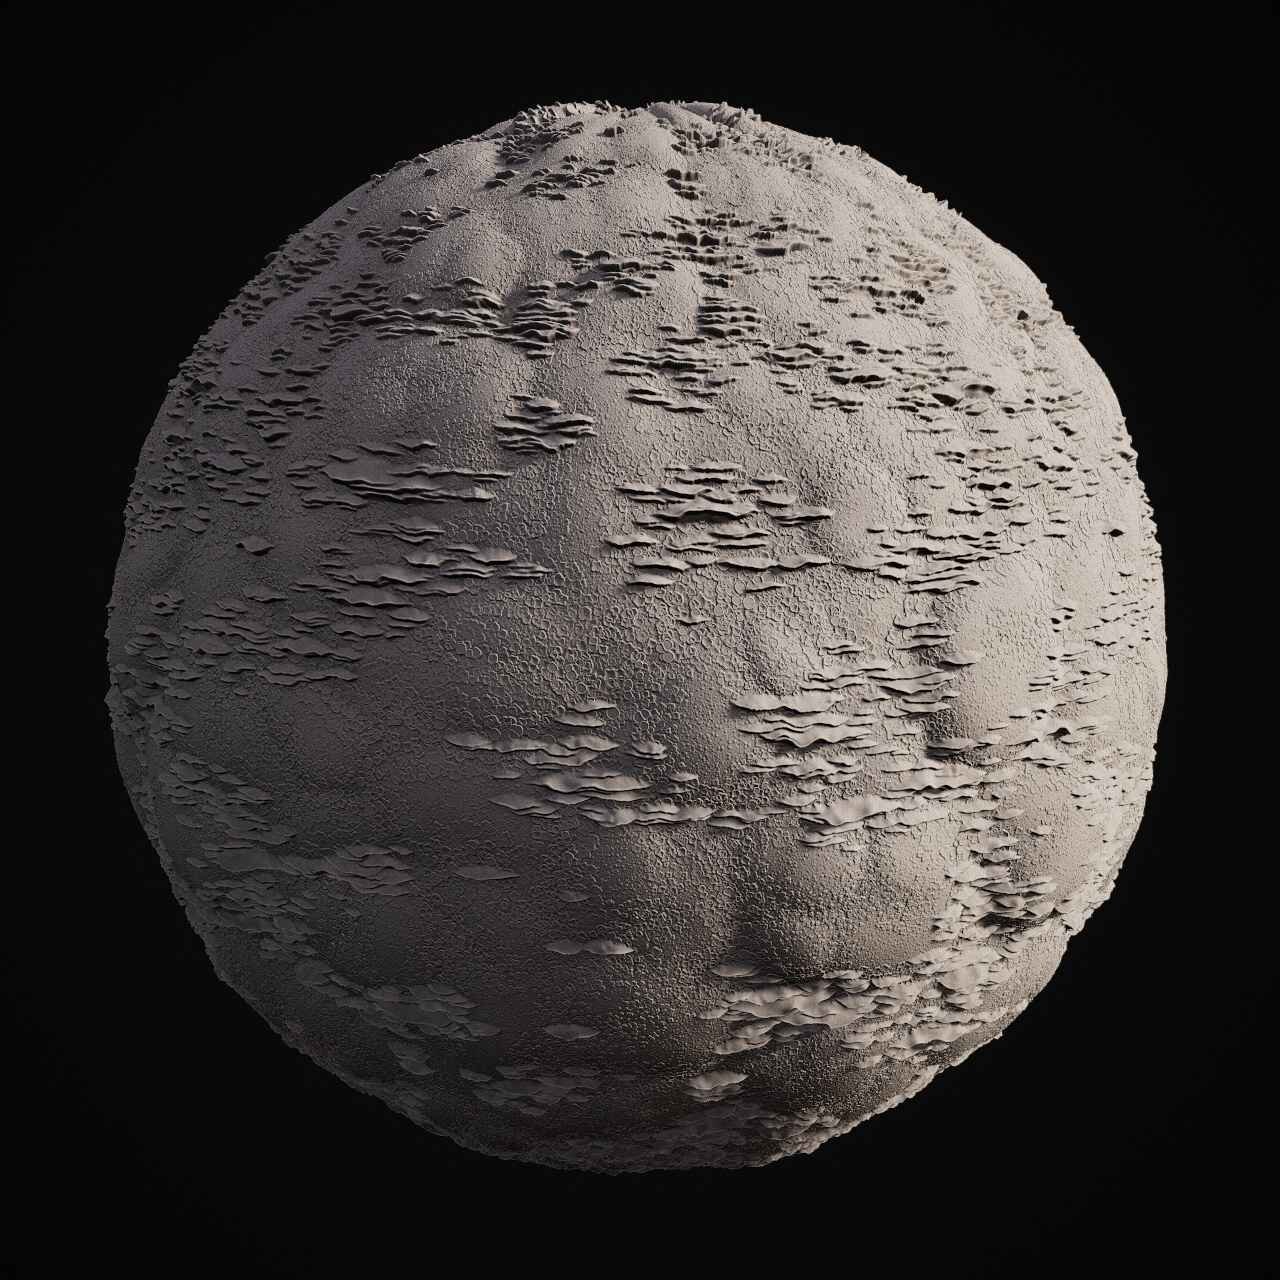
For example, here is the PureRef boards for three of my last public Substances.

Octopus Skin reference board

Eye Substance reference board

Fungus Substance reference board
As you see, a lot of the references are here because of the idea I have in mind for some parameters. Also I try to focus the reference with a real image or subject but often I took a look at how other artists did things similarly.
It helps a lot in Designer to have access to some great libraries like Substance Source to open some of the great work in there and take some ideas or node tricks I didn’t think of. Like a lot of my organic Substances use the tricks of sloping a height map by itself, a trick I first found in some of Ben Wilson’s signature work in Substance Source.
I try to reduce the number of exposed parameters to the minimum needed. If I have two exposed that should work together I try my best to combine them and each of the parameters should have a real impact on your texture to be worth it. Less is better is a good mantra for this. I try to have at least 3 or 4 parameters without the colour one, but rarely more.
Stylised Materials
I think that stylised Substances are really challenging, not that much from the realistic ones but because the focus isn’t in the same.
On realistic a lot of the work is based on the height, I think it took easily 80% of my time but on the stylised one the focus is much more balanced between the colour and the height, a lot of the work is on how the colour works on the materials. The height is more of a support on the stylised in contrast to the realistic ones that benefit a lot more from it.
Also I find that stylised needs more control than realistic ones, a lot of times some “happy accident” make the realistic work or hide some flaw but in the stylised you need to clean your work and keep it “simplified” so each detail has a clear impact and everything should work like you want, you can’t really hide some details with well placed detailed noise for example. If you want to try stylised Substances make sure to perfectly control how your colour works and how your height affects it. It’s also a great project if you want to perfect your albedo work in Designer.
Powerful Nodes
The thing I’m more proud of is how I handle parameters since the value update of Designer. The last time I found an update with such impact was when they added the flood fill method. I created 4 tools to control float value with the value processor and two of them that I use more intensively.
The first is just a simple float value node, I used it to simulate what parameters I will expose. It’s as simple as it can be but so useful, I don’t know why they don’t add it.

Float node
I used it as soon as I found the parameters that can be exposed, so I can try it and change it as I work on my height so the parameters can’t break everything. Also it simplifies a lot what nodes are controlled by what value and allows me to quickly see what the values are by watching my graph.
Also it helps to clean your value for external use, it’s better to have a parameters that go from 0 to 1 than from 0.025 to 0.035.
I combine it almost always to my remapping range one. Some simple math that changes what the max and min value of my parameters could be.
It allows me to quickly iterate and combine different value to be controlled by only one float, that really helps me a lot when I do parameters.

Float range remapper
I used also two other more specific nodes.
The normalize node allows me to change the range of value of my node, useful if you need to stop the parameters early in your float value.
Basically I select a range like 0.25 to 0.75 and transform it to a new 0 to 1 range. I used it in the Eldritch Skin to delay the opening of the eye and accelerate the apparition of the protuberance so they disappear right before the eye open.

Float range remapper
The Curve Value Node allows me to control the value extremely precisely, I made this one for the Eldritch Skin to animate the skin with a more natural feeling with acceleration and deceleration.

Curve Value node
All these nodes allow me to think of my parameters right from the start and have a great control over them. Also I’m not afraid to control each little detail from each node with that, like a subtle change in blend node. The only bad thing is that they transform my graph into a spaghetti monstrosity.
Like here is the start of the Eyeball graph and where I added all of my parameters.

Eyeball Substance graph parameters
What to Know When you Start in Designer
To take time to render your texture in a pleasing way. At the start I was so into Designer that I neglected the render so even if I had some “clever” idea I never took the time to make them pop in any engine or context. Now I have a basic render ball setup and each of my Substance is a ping pong game between my rendering engine and designer.
Also don’t trust the viewport of Designer, even if it’s good, always think of your Substance in the context you will use them right from the start and test them in this context, use your rendering engine when you work and don’t wait till the end.
Receiving Feedback
I get feedback from the online community mostly and my friends and/or coworkers.
I have a little group of friends who I'm really close to and we share all of our ‘work-in-progress’ stuff together all day, it’s my first way to get feedback and I seek for their help right at the start. Also they come from different “specialisations”, environment art, character art, technical art so they have some great input that I don’t really think of at first. When I have something close to finished or where I struggle a little I seek help in different community I’m in like in the Dekogon one.
The first way to gain skill is to confront your work to other people and there is a great number of really cool and open communities at one Google search range like the official Substance Discord.
On the Eldritch Skin I searched feedback on some design for the eye, or to test my animation. It really depends on what is the step I'm on and the time I have left before finishing the project.
Feedback in Dekogon
For Dekogon the process was pretty much like a lot of online communities, we had our leads, Enrico Tammekänd and Clinton Crumpler and all the guys from the Kollab Substance on one Discord channel.
Each time we have some good progress or we are stuck on some design/technical problem we post on the channel and I had feedback/help from all the guys present. Also Clinton and Enrico helped a lot on the design part, at least on my fungus/mould.
I was stuck on this Substance because I wanted to make something too close to the reference I had so Enrico and Clinton gave me the advice to go a little bit more towards the exaggerated/fantastical aspect or blend some of my results together and the result is much better than what I first wanted. Here are the work in progress shots of it.


Here is the final version.

Working Remotely with Dekogon
Well I’m used to working remotely, it’s not the best and some studios don’t know how to work like that. But Dekogon is really well organised with this, they have a lot of people that took care of the management side. They have a notion that centralises every aspect of the studio from the rules, the pipeline or the resources available, and the documents are always updated and kept up to date.
When a project starts a new set of documents are created that detail all the specificity of the new production so we don’t really need to bother the Dekogon core team with trivial questions and can get to work at any time of day. All the people come from all of the 5 continents and you can’t be sure a lead is present 24/7.
Also a Trello is made where they can keep track of each artists advancement and give more precise feedback. Sometimes some Outsource Managers from the client could be present and give direct feedback to the artist. It’s pretty well organised and works very well from my side and it’s very flexible so perfect if you have another contract client at the same time.
Toolbag Scene Setup
The setup I use is pretty classic I think, first I always use a basic scene at the start of a Substance, a simple render ball with a simple 3 point lighting, it’s pretty straightforward but it helps me focus on the visible details and have everything right from the start. A common misconception I saw a lot, especially with students is the 3 point lighting. A lot of people use only 3 lights for it but you can use any number of lights, you just need to use them in the right way.
Three point lighting needs 3 kind of lights:
Key light used to define the overall design of your lighting, the more important light because it’s the one with the most impact on your scene.
Fill light used to light the shadow created by the key light, so that no details disappear in it
Rim light to help separate the subject from the background and give a better silhouette.
Here is an example of how I use them on my material ball with the fungus render.

Key lighting:

Fill lighting:

Rim Lighting:

Also don’t forget to tweak your shader, try the different parameters and test with different settings. I always use my ambient occlusion in the specular/diffuse cavity and play a lot with their respective parameters for a better result. Also for organic materials play with the SSS (with a good mask) it could add something good to your render.

Subsurface Scattering Example
And finish your render with some post process, not too much but some add a lot to your render.
I always use the ACES tone mapping with a little tweak to exposure. I then add some subtle effects like depth of field (not always subtle I admit), or vignetting, sharpen and grain.

Post-Processing Comparison
For my beauty render it’s exactly the same, here is the process on one of the spider cavern render.

I think my setup is basic and I have still a lot to learn on rendering my work but I think it looks pretty good for what I want to do.
Eye Substance
For the eye scene it’s a basic scene setup for the real-time eye. You can find a good tutorial about it on the Marmoset character tutorial “How to create realistic hair, peach fuzz and eyes” I just made some personal adjustment.
I started with a UV unwrapped sphere like I need. I then duplicated it with a subtle larger scale for the cornea.I used a simple additive shader for its transparency.
Here is the model separated:

For the materials it’s where the magic happens. A great problem we need to resolve for the rendering of the eye is the refraction of the cornea, the Add shader in Marmoset doesn't allow refraction and the refraction shader doesn't allow shadow in its refraction so we need to find another way. Also the eye is bulging only on the cornea and concave on the iris so we need to show this too for a good shadow. The trick is simple. First the bulging area is fully controlled by a displacement map, the same on the second sphere. And the two are bulging by the same amount.

We need then to change the lighting of the iris so it’s a more concave shape, we generate this with a normal map generated by more concave Height maps.

It allows some better shadow on the eye and the concave look.

For faking the refraction I just added the height map that helped me generate the normal map to the parallax channel in the Marmoset shader. It fakes the concavity pretty well and the artifact that appears because of the bulging sells the refracted look pretty well.
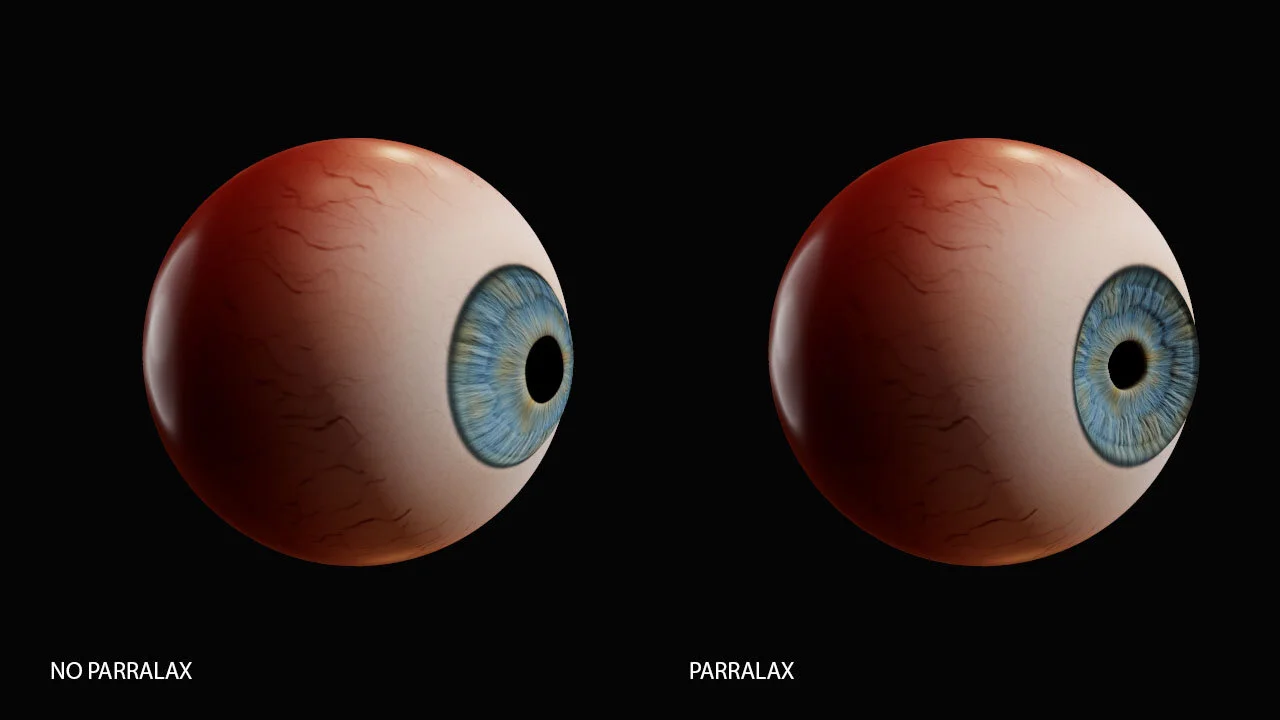
The final render with the cornea look really convincing in my opinion and the setup is not that hard to reproduce in other rendering engines.

Looking to the Future
Well, I started to learn Designer to perfect my textures for my environment work and lost the environment part in the process so I will focus my next year on creating complete environments. I also want to try the Unity HDRP so I will leave Marmoset a little bit on the side for Unity.
I also want to clean some of my tools and process to make them available in 2020 on Gumroad. I use a lot of resources from other people so I want to participate on this by sharing my nodes and maybe some of my materials.
I have also a bunch of work with Dekogon incoming.
Additional Tips

Don’t do personal projects for the sake of doing it, always aim to learn something from it, the best way for that is to get out of your comfort zone by taking a risk and making something you're not used to making. I try to always have some objective when I start one so I can focus on it and don’t waste too much time on secondary things. The best example is the fungus project with Dekogon, I chose it because it was something really organic, I never tried something like that before and wanted to challenge myself. It was damn hard at first but it completely changed the way I make Substances now and I feel the gap from before the fungus Substance and after is the biggest in my whole portfolio.
Outro
Substance Designer is an awesome software that I definitely recommend for any artist to know at least some basics. It can be hard but it’s one of the most rewarding experiences I ever had in 3D art. It can also be a little scary but the community is on point to help anyone make the first step, just look at the awesome quantity of Substance nodes, materials or articles shared until now. I’m sure you will find what you need or someone to help you make it.