
FISHING BOAT IN UE4 - OUT ON SEA AS A TEAM
Kiril Zangagolev and Domantas Kelpsa teamed up together to create the Pen Dinas Fishing Boat. Utilising various industry workflows, they breakdown their approach as a team, allocating tasks, setting up the texturing process, using a single master material and of course, sculpting fish.
Introduction
Hi guys, my name is Kiril Zangagolev and I’m from Bulgaria. When I was a kid I was very artistic and creative. I used to act, draw and build my own custom Bionicles, which is a fond memory of mine. I played video games during my childhood and building things in Minecraft was the beginning of my passion for environment creation. In high school after I lost interest in Minecraft, my dad introduced me to 3ds Max because he works in Arch Viz. I enjoyed modelling and enrolled in a few online courses for it and animation with Maya. At the end of the course, we formed a team of 30 people and created a game in Unity. After that I was certain that I wanted to study Game Art.
At the end of my first year at university, we did a group project in Unreal Engine 4 and I liked the workflow of creating environments. At the end of the year I made a few extra environments to learn the programs as much as I could and become better.
Hi, I’m Domantas Kelpsa and I’m from Lithuania. From an early age I was constantly drawing and painting which made me very creative. Like most people, I was playing video games which always amazed and captivated me by the astounding worlds in them. In my last year of high school, I found out about Game Art through my friend that decided to study it. Like many people before me, I didn’t even realise that it was a career option I could choose. I researched about it, downloaded Blender and absolutely fell in love with it. After that it was easy to decide that it was something that I wanted to do as it would combine my two favourite things: art and video games. We have recently finished our second year of Game Art at De Montfort University in Leicester, UK.


First Steps
The whole idea started with us deciding to do a group project together in our second year of university, we both wanted to learn more and get better. We already knew that working in a team would motivate us so much more by doing it this way. In the beginning we weren’t sure what we should work on; we had a few ideas, one being a fishing boat.
By researching for references, we found some intriguing pictures of a red boat photographed by Keith Morris and decided that it was something we wanted to recreate. We began by gathering all the images we could find and some pictures of props that might be inside.

Pen Dinas Fishing Boat On The Sea Off Aberystwyth Wales – Keith Morris
Planning the Workflow
The general idea behind the workflow is from a great member of the 3D community - Jeremy Estrellado. He runs a YouTube channel where he shares efficient environment art techniques. His workflow consists of making the model with 2 UV sets. The first unique UV set is used to bake a unique normal map from a high poly and to generate masks in Substance Painter.
Then in the engine you can use the second UV set and masks to mask between different tiling textures. By doing it this way you get the unique grunge pattern and variation from the Substance Painter masks but you also get higher resolutions from the tiling textures . We intended to utilise this workflow because we wanted the boat to have very unique grunge and grime to cover it but it’s too big to texture it like how you would texture a small unique prop. So we split the assets into unique, smaller meshes that could be done in Substance Painter only and the bigger ones would be textured with the masks and tiling textures workflow.
Creating the Assets
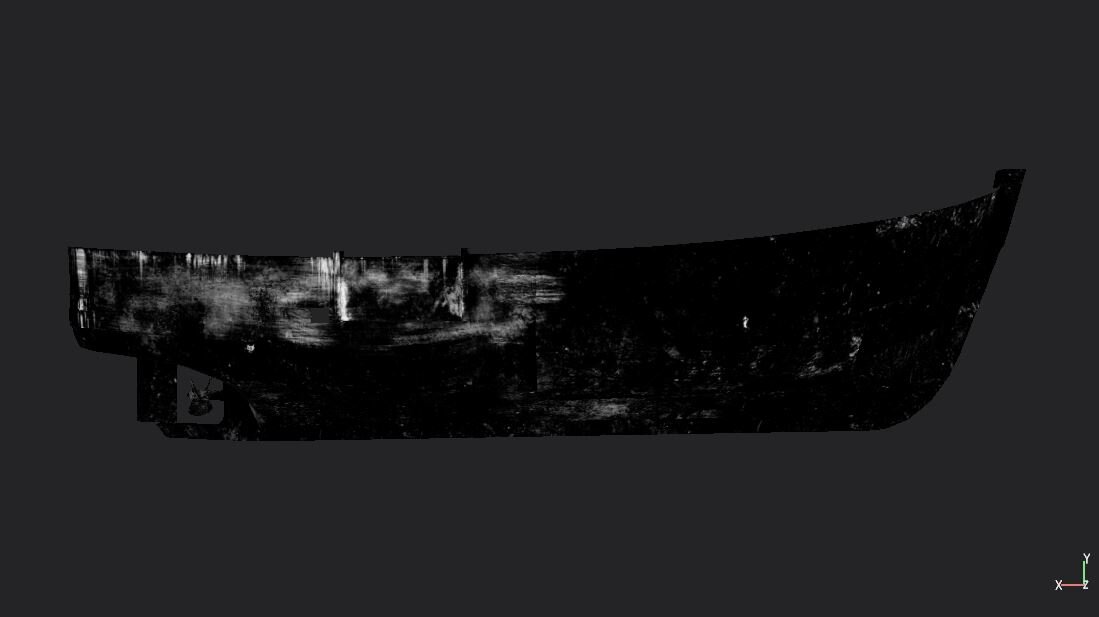
To begin with, we started by blocking out the boat so we would get the scale correct and also helped plan out what variety of meshes and textures we would need for the project. After that, we jumped straight into action by creating each asset one by one using the tiling and mask workflow. A good example would be one of the main meshes – the hull of the boat. First the low and the high poly were created in 3ds max. Then the next step was to make a (unique) 0 to 1 UV space unwrap.

Following on, we did the mask creation and baking of a unique normal map in Substance Painter (these are some of the masks for the different grunges). After all of the masks are done, you right click on them and select export mask to clipboard. This way you can copy the mask into Photoshop. While in Photoshop, all the masks are put into the different RGB channels and the mask for the rust is in the alpha channel. Now we have a unique normal map and a channel packed texture with 4 masks.

Then comes an important step, before importing it into Unreal, some of the objects have to have a few different material IDs, so we assigned a multi-sub object material in 3ds max to separate the materials to make it easier.

The final thing that has to be done is to create the second UV channel, which the tiling textures will be mapped. Now the model is ready to be put into Unreal.
Materials
Knowing that we will get good detail and variation from the masks, we made the Substance Designer tiling textures plain and treated them similar to surfaces. If we were to use vertex painting, then it would have been better to have different surfaces in one material e.g rusty metal, peeling painted metal, dirty plastic. Our materials are just simple clean plastics and a painted metal. The rust material and the grunges were also separated rather than integrated into a more complex material.
This part allowed us to speed up our production process while giving us a great flexibility to change and tweak the materials. All of the assets that used tiling materials were textured using a single master material.

The master material uses the 4 channel masks textures to lerp between a base material, rust and 3 different grunges. At the end, the baked normal map is blended together. The grunges, rust and base material all have parameters for hue, saturation and lightness, for texture inputs and a few other small tweaks.
Inside the functions the texture parameters are all set to be mapped to the second UV channel which is UV 1 in Unreal.

Now the work on the master material pays off because all that we need to do is to create instances for different sections of the boat and different props, and just change the textures for the base material, to add our unique normal and mask texture and tweak the HSL on the grunge or base material.

Fish | Crabs
We also needed to create some fish, after all it is a fishing boat. While trying to figure out a good way to create a realistic fish we looked through some articles on 80 Level and found an amazing breakdown of fish creation for video games by Tamara Sapronetskaya. We started by making a base mesh in 3ds Max that we later imported into ZBrush, meaning we could model the main, most noticeable shapes.
After this, we used ZRemesher to get a good enough base topology for a low poly, that we then cleaned up in 3ds Max. Afterwards, we unwrapped the fish and put it in Maya to project the chosen image onto the low poly. This produced a realistic colour map that we fixed up in Photoshop and then used to create a displacement map for the details.
Next, we put the low poly into Substance Painter, baked the high poly that we sculpted in ZBrush, added the colour map and the displacement map, and then adjusted the roughness. Doing it this way, we ended up with a realistic fish that matches the texture quality of all of the other props. Using the same workflow, we created the crabs.

Lighting
For the lighting we find that keeping mostly default settings works really well in Unreal. The main thing for the different lighting scenarios is to match the skylight HDRI lighting with the sky background. We experimented and found that some of our HDRIs used for the skylight were dim, some were very bluish and some were neutral and we used them accordingly for the different scenarios.
We also found a great website with cool sky backgrounds. For the directional light the only setting changed was the intensity from 5 to 7.5 to 10 and that is all.
Composition
Because of various lighting scenarios like day or sunset we tried to plan the compositions so that they would make the boat appear realistic and natural. This is one of the shots that we thought how to compose more carefully. Because of the dark scenario we wanted to play around with the strong lights on the front of the boat and capture the mood of the dark wavy sea.

Because of the dark weather there wasn’t much that could lead the viewers eye towards the boat so we tried to align the water so its reflections could do that. After that the boat which as a triangular silhouette stands out from organic environment and leads the eyes to the top of the boat there’s the small bright light that all the lines lead to.

For the props placed inside the boat there was no specific composition. We tried to be as realistic and recreate the reference as best we could. We tried a few different placements of assets and simply used what worked best.

Working as a Team
We found that working together is really fun and quite efficient. I (Kiril) really like texturing and Dom is very good at modelling so at first, he modelled and I textured but after we had the hull of the boat done we decided that for the objects that go on top of the hull we should split them 50/50 and do them fully ourselves.
He fully did the railings and the big metal structure at the front of the boat and I did the cabin house. The unique props we also split and did separately. Working in a team helped spread the work and if we didn’t do it together this project would have taken much longer. The splitting of all of the assets helped us stay motivated because as one person was finishing something there was another prop that was ready to be put in the engine.
We set a time period of 6 weeks and even as a team it took around 7 weeks.
Water
The water shader we did not have enough time for so we just took the default UE4 water shader and added a better panning normal texture. We also added some extra panning that goes in the opposite direction just to break up the repetition.

Inspiration | Feedback | Future Work
We try to seek feedback quite a bit because otherwise you could spend a bunch of time doing things in a very similar way which is not efficient. We treat feedback as food for thought and we don’t just listen to every person because sometimes you get asked to desaturate the albedo of a prop and when you ask another person they say to saturate it a little more. So we review the feedback from a couple of people and think of what is the most essential think that needs to change.
I(Kiril) am doing a project for an environment art challenge for second years which I am very excited about. I look forward to seeing how people like it. I am also excited about hopefully producing my best project by far for my Final Major Project in the third year of university.
I(Dom) currently am not sure what I want to specialise in as I really enjoy creating both characters and environments. I’m very interested in both and will keep trying to learn as much as I can but for now I will try out my knowledge and focus on character creation. Similarly to my friend Kiril, I joined a character art challenge which I’m immensely looking forward to. I’m very motivated by the people I study with and the incredible game art I get to see online. There’s just so much to learn and to create.

Outro
We are extremely grateful for getting the opportunity to share our workflow and we want to thank all the people out there that selflessly share resources and tips for others to learn.