
Haunted Woods in ue4
Don’t go into the woods…. Simon Madsen takes us on a journey through the creation of his dark, chilling forest environment. Simon explains topics such as utilizing concept art, planning, lighting, combining ZBrush and SpeedTree to create foliage and much more!
Intro
Hi, my name is Simon and I’m a 3D Artist from Denmark. I majored in a field completely unrelated to 3D, nor is it ever certain that I will step foot in that industry but I’d lie if I said I wasn’t interested. 3D is a hobby of mine and it started out in the wonderful world that is Skyrim modding working on Skywind - Recreating Morrowind in the Skyrim engine. I still indulge in that community but my primary focus is getting more comfortable with modern engines and the sweet workflows that comes with it. When working on mods, workflows/engines tend to always be behind the current trend by 4-5 years, which means you miss out on quite a bit of those cool new features. I have a soft spot for new technology, which meant that I’d never be really be happy using only older workflows, knowing I was missing out. I should say that I had an outstanding mentor who had experience within the 3D industry, which I benefited from immensely. Big thanks to him for helping me get into this wonderful world.

Planning
As I previously mentioned I do this in my spare time. That means I might get in a day or two a week at the most to work on 3D projects. I try to plan out my 3D environments to the best of my ability, this includes getting weird looks from my wife as I take pictures of trees, plants and rocks. Let’s just say I wasn’t always very popular on our trip to Iceland. What I usually do is similar to a lot of other artists. I gather plenty of references and divide them into groups. I usually also make a project plan on Trello or in Excel (any tool will do), divided into different categories and tasks so I always know how far I am and what’s left. It's easy to get stuck or end up doing other things while sitting at the PC, especially after a long day at work. So planning is key! Know what you want to do and when it's time to do it.

PureRef Board
For this project specifically, I attempted to draw out different foliage that I would need to make sure I had enough coverage for the ground, but at the same time create as few plant variations as possible. The picture is my crude attempt at making sure I could achieve a reasonable ground coverage with the plants I had picked out.
Lighting
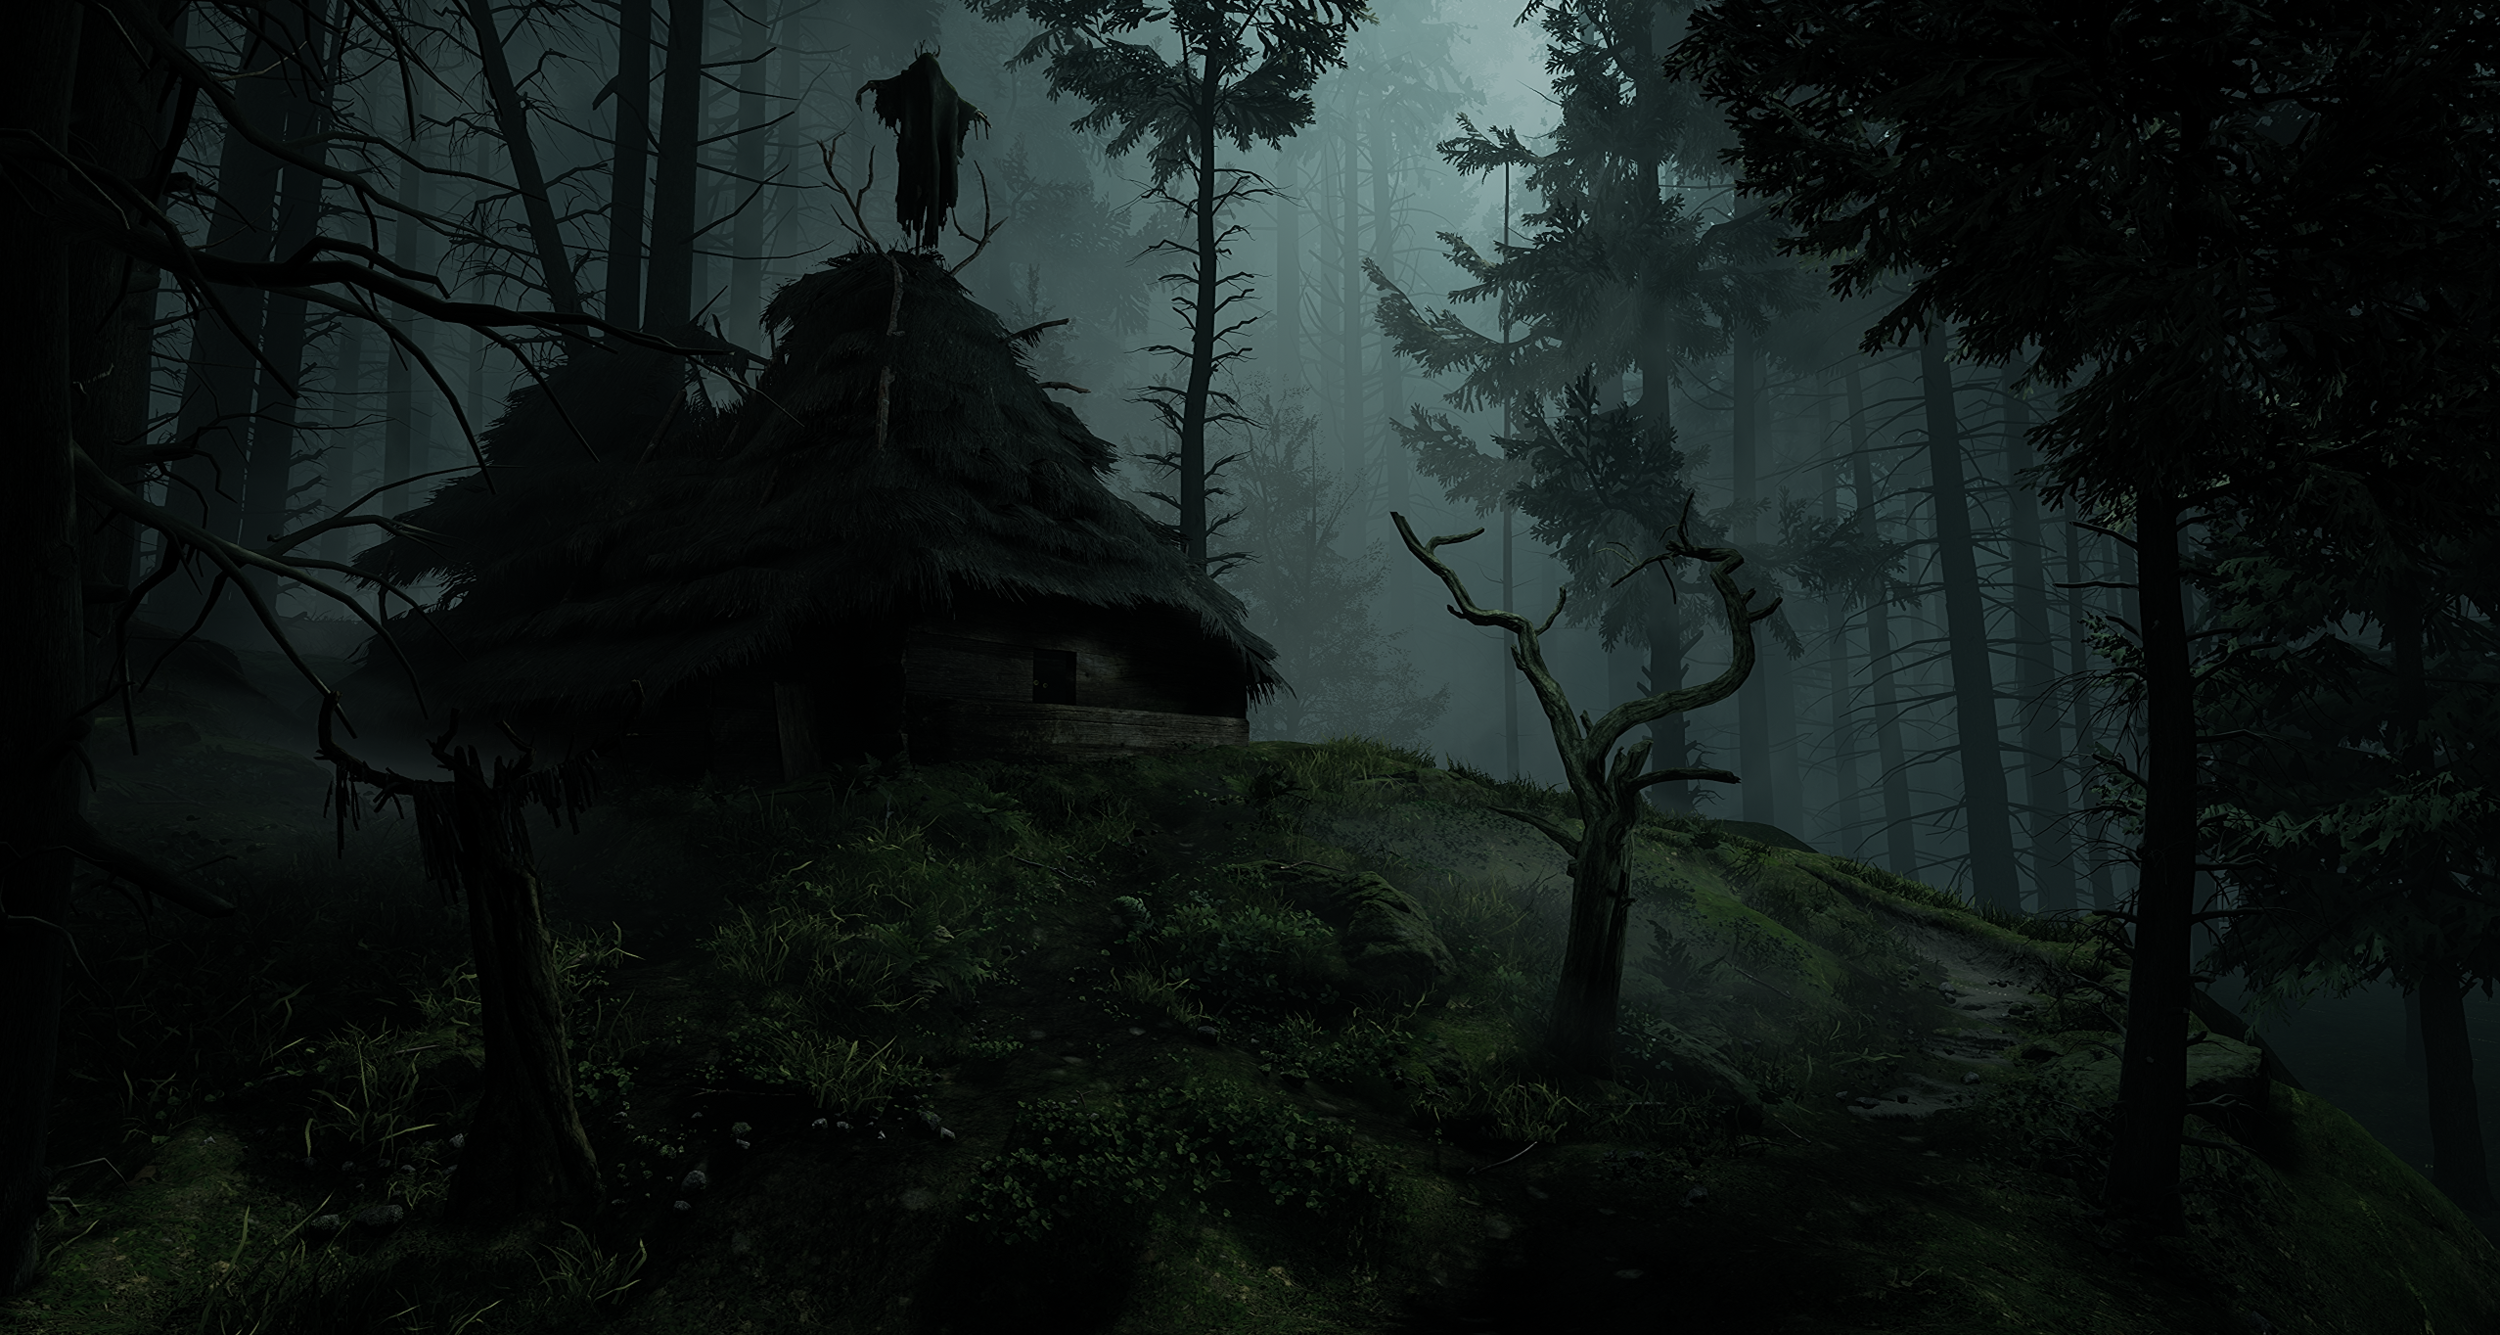
In terms of lighting setup, this was actually a fairly forgiving. You have a very dominant colour, with a heavy fog and a directional light. The complex issue here is to get the scene dark so that you get that uneasy vibe and anything could jump out of the shadows, but not so dark that all the detail drowns. You want to be able to make out the shapes and sizes of objects, so that you don't have to guess at what you're seeing in the picture. The fog sheets are a fairly important part of this, as they add a bit of contrast behind the otherwise dark assets.
Lighting Breakdown
I’d like to point out that I didn’t do the lighting in the order of the gif, I like to play with the lighting as I go along. Lighting affects the assets in the scene in terms of colour and since there’s so many silhouettes here, it seemed important to get the first draft down early in the process. The gif is primarily to show how many lights the scene consists of and what the individual ones does. Don’t be afraid to use spotlights to get highlights on objects that your directional light is otherwise not strong enough to affect. Some of the spotlights are very faint and hard to notice but still help bring the piece together.
Working From A Concept
Working from a concept is both good and bad in my eyes. I’ll list a few thoughts on what I went through with working from concepts.
You're certain the composition and colours will work, because that part is already tested and laid out for you. That in itself can be a downside, as it means you don't get to practice your composition.
If you're starting out with building scenes however, it's something I can recommend because it gives you a chance to focus on some of the other aspects of your work. Environments can take a long time and in my eyes it's good to prioritize, you're learning so many new things and tools, there's no harm in postponing one aspect then picking that one up later.
Another benefit of working from a concept is that in the industry, you'll want to follow an art direction and have to work from concepts since they're so much faster to reiterate than 3D. The reason I chose to work from a concept is that this is my first fully fledged environment and my first time using the Unreal Engine. I knew I was getting in over my head, especially with my time constraints, so there was no need to overburden myself further.
One challenge, or drawback if you will, you'll notice when working from a concept, is that certain aspects might not be correct according to the laws of nature. For example lighting in a concept doesn't necessarily make sense, it may seem to come from different directions and it's not something you think about before you sit down and analyse the piece. They can have these amazing atmospheres, but upon closer inspection their lighting, scale or other things are out of proportion. The concept from Yuri has a very one directional light, which means you won't get into a lot of trouble. I'm currently working with a scene where this isn't the case. At first glance there’s only one light-source in the scene, a directional light, however shadows are being cast that doesn't realistically make sense based on the sun's location. This forces you to deviate from the concept and think creatively about to potentially fix that issue if it compromises the quality of the piece.
Making The Concept Your Own
I didn’t take a lot of artistic freedom on this piece, I wanted to get as close to the concept as possible. One of the reasons to follow a concept in my eyes, is that you challenge yourself to replicate something. One thing I did change was the paths. Yuri had one path, whereas I wanted to add additional ones to add a bit of additional story to the scene. The paths and lack of growth on them makes it seem like something is moving around the house quite frequently and keeps you guessing at what that might be. And what is it doing walking around this scary place? Surely it can’t be human?
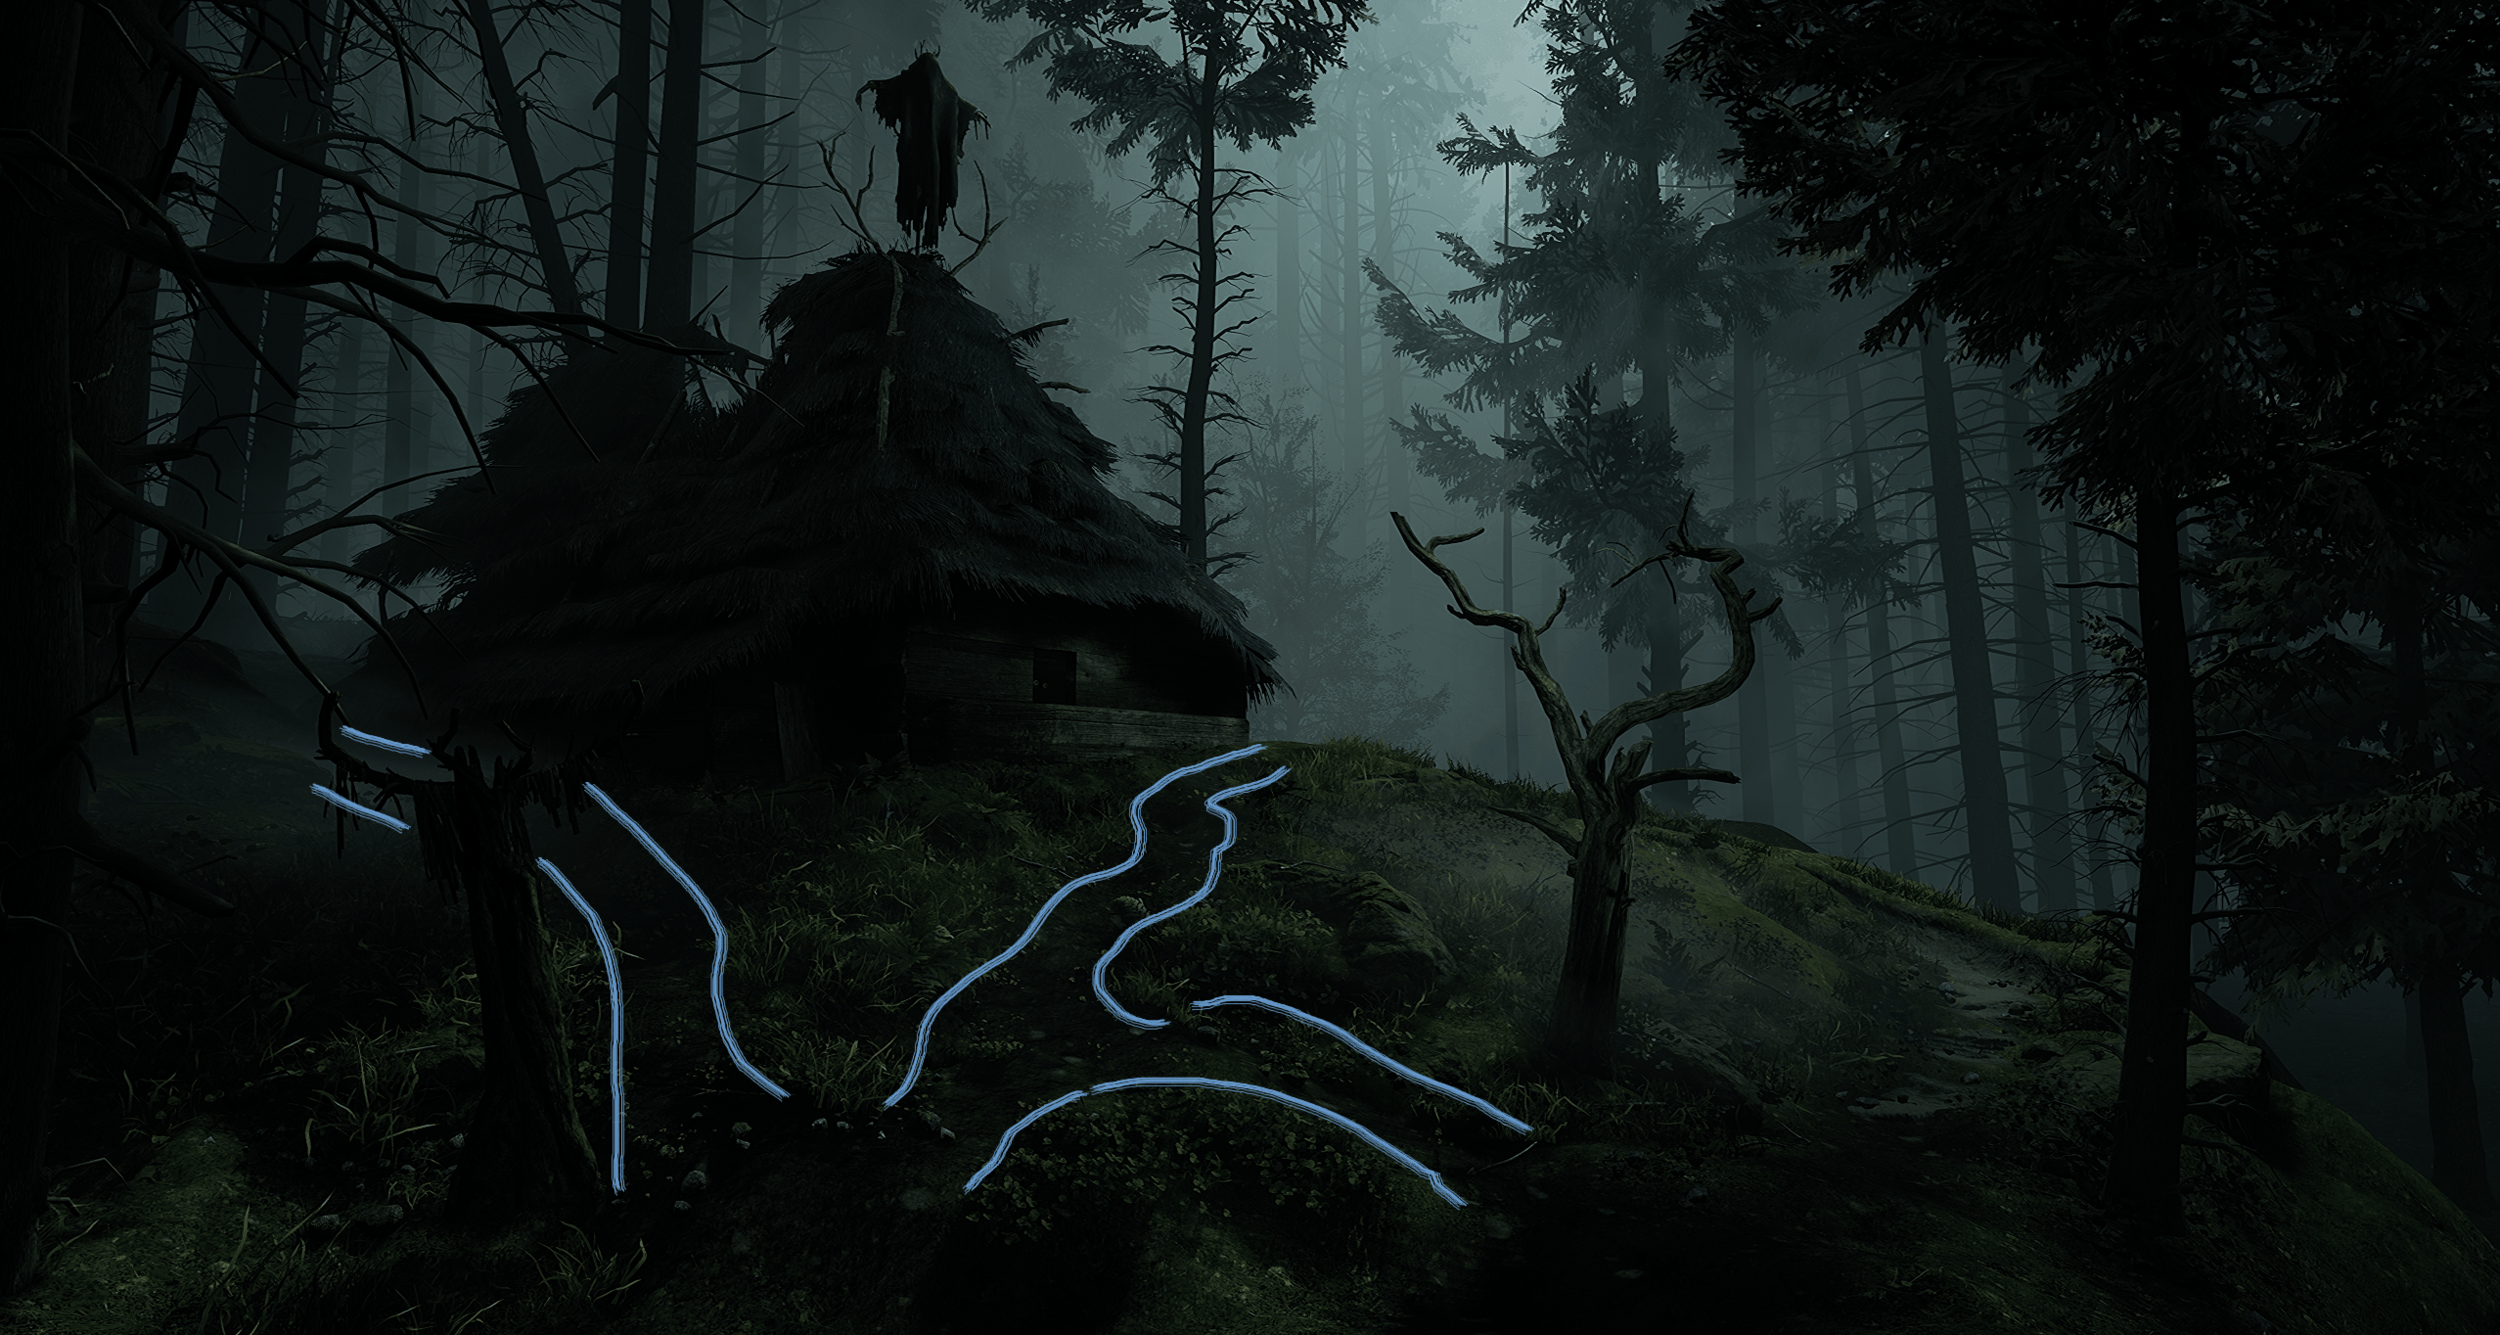
Paths
I wouldn’t say that this counts as ‘straying’ from the concept, but Yuri's concept obviously wasn't meant to be the foundation of a fully fledged 3D piece, but rather a mood piece. That shows in a couple of different areas, but primarily in the foliage in the foreground and closer to the hut. It is somewhat undefinable, there are no hard outlines and it's practically impossible to distinguish the shapes. Our brains are wired to recognise shapes in everything and while the foliage makes sense in the bigger picture, try imagining how you'd make the part in the image below. That's the beauty of art, we can interpret shapes and make them fit into what we’re seeing, as long as it’s put in the correct context and resembles the object. However you can't very well do that with 3D and you need a tangible asset as they're meant to be viewable from all angles and would look out of place if it was just a blob. So in that sense I strayed from the concept because I had to identify foliage I could make into models.
Another thing that I added added was wind to the majority of the scene, but ended up cutting it because I wasn’t happy with how it looked overall. The thought behind it was to push the scene beyond the concept, adding something that would only be possible in 3D.
Foliage
The most important tool for my foliage was SpeedTree by far. Initially I was going to assemble my things in 3DS max, but due to the large amount of foliage, I decided I was better off getting a semi-procedural approach in place for it instead.
All of my foliage followed the same workflow using ZBrush to create the basic model, both leaves, branches and stalks. I baked them out in Substance Painter, then assembled them in SpeedTree.

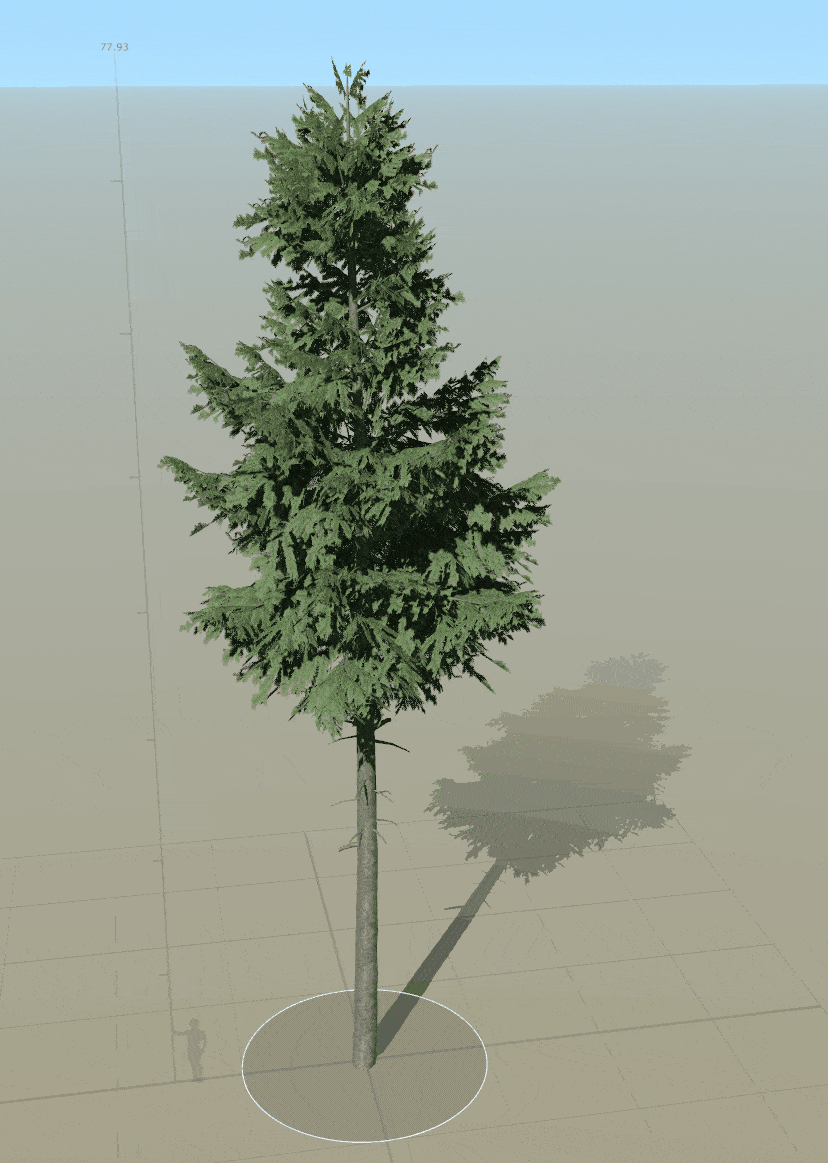
For pine trees, I started off created branches in ZBrush using Zspheres to create the sticks and fibermesh to populate the branches with needles. You can mask out the areas you don’t want affected and create different variety of pine needles. Note that spawning FiberMesh is based on your camera angle, if your needles are positioned in a wrong direction, try rotating the camera/mesh.

FiberMesh

Baked Foliage
After baking them onto a flat plane and texturing them in Substance Painter, I took the texture directly in to SpeedTree.

SpeedTree Cards
In SpeedTree you can create cards fairly simple and manipulate them directly in the software. That way you can cut out the middleman and skip 3D packages like Blender, 3ds Max and Maya. This tree in the gif below is made by using only two different cards. You can get better results by using more, but in my case it wasn’t necessary as you don’t get much closer to the tree to identify that the branches are repeating. An added benefit of doing it this way, is that you get the wind information from SpeedTree directly into UE4. The tree has 17.300 triangles, but can quickly be reduced to around 8.000 without sacrificing too much detail.

SpeedTree Nodes
This allowed me to quickly create variations of trees to be used in the scene:

Tree Variations


Even the hero tree stump and tree you see in the foreground is created in SpeedTree using the ‘Hand Drawn’ functionality. This allows for a lot of flexibility, such as easy adjustment of branch sizes as well as automatic UV’s. You can then either take this into ZBrush and sculpt the tree then bake it out or simply export the asset and use displacement to give the tree a little more character. I did the latter.

Hand Drawing in SpeedTree


While the remaining foliage uses the same workflow as the pine trees, the bark however is a scan I took of a tree and made tile in Substance Designer, cleaned up in ZBrush, then baked and textured. If I were to do a lot of foliage assets again, I would try to scan more items simply because of how fast the process is vs the result it gives.

Learning From The Project
This being my first real scene, I don’t think I was ready for how big of a task it was. The planning needs to be better, but it will also factor into how I pick a project in the future. I have learned that you need to analyse a scene carefully beforehand and try to list assets to get a better indications of what the project entails. Getting that overview will help you assess the scope of the project and gives you a chance to identify where you need to be clever about your asset workflows.
Another thing I learned is the importance of shaders. Prior to this project I didn’t have a lot of experience with them, it is a whole world in itself. How you shadow snow or moss could mean the difference between how believable they area. How materials blends, how foliage is slightly see through when the light hits it, tessellation of assets, scaling normal details, edge dithering, emissive, glass - all of those things are through your shaders and have an enormous impact on how you scene ends up looking. Having good shaders in place will certainly be a focus point of my scenes in the future and learning the shader system in UE4 more in depth is on my to-do list.
Biggest Challenges
Getting into shaders was rather difficult. I'm not a tech artist by any means, so trying to figure out how things worked from the bottom up took way more time than I cared for. Especially because it takes away a lot of focus from the art, so while I was very keen on getting into shaders to understand and built my own, I was also frustrated that I had to devote large amounts of time to learn something I didn’t find that interesting. However, I’m a firm believer in that you need to understand the basics of everything, so once the initial hurdle was it was a lot easier to adjust and add additional functionality to my shaders.
Another was the previously mentioned foliage and whereas for buildings and hard surfaces you can create trim and tiling textures, you either have to create a tool in Designer(way outside my capabilities) or buckle down and churn out those plants. Like I said previously, SpeedTree was a central piece to that puzzle, because once you have one variation of a plant, it’s easy to create variations using speedtrees many parameters.
The last thing that hit me was the fatigue. It’s easy to run out of steam on projects this big, especially if you’re the type of person that wants everything to be perfect. I think the important thing here is to give yourself breaks, allow yourself to either work on another project or take some time off completely to enjoy other things. At the same time it’s a good idea to have a plan for when you want to return to the piece, so it doesn’t get left in the gutter.
Shaders
There’s nothing fancy about my shaders, in fact they’re very basic. Mostly simple plug and play shaders, but since the scene is so heavy with moss I added the option of blending in a world aligned top layer, which in my case is moss but could be snow or sand as well. Another thing I found useful, is to add a tint, contrast and saturation adjustment options to the albedo. Having the possibility of colour adjusting your assets directly in the engine is super useful for those minor adjustments and will save you from going back and forth between software to try and match assets.

Master Material
Future Work
Since this article was written I was working on another large environment (I promised myself I wouldn't), Among the Dunes, based on another concept that has some great Star Wars vibes by Vladimir Manyukhin. Colourwise it is sort of a contrast to my previous environment, which drew me in. In the future I plan on doing more ZBrush pieces because of my limited time and because I find it extremely meditative to sculpt. It's not a popular opinion in these procedural times but once you get past the daunting interface I find ZBrush much more appealing than I do Substance Designer for example. Combining the two yields some great result as well.

Tips and Advice
Everyone is different, but if you’re new to 3D and you want to do an environment, consider taking on a smaller project such as a diorama. It’s a lot smaller in scope, but utilizes the same methods as a fully fledged environment. Big pieces can be daunting and once you feel fatigued and stuck on a piece, it’s fairly hard to bounce back. In my experience, you’ll initially be driven towards a project because you find it interesting, you’re motivated to get started. That will wear off eventually and what you’re left with is your self discipline. That is what you should utilize to cross the finish line.

If you’re looking to improve as a 3D artist, I’d recommend finding a community to participate in. 3D people are some of the nicest I’ve met(a bit of a generalisation, but it’s true!) and are always ready to provide feedback on projects. Feedback is in my eyes one of the best ways to improve, it’s important to understand what could be improved in a scene or object and why something works or doesn’t work. Don’t be afraid to ask how you can improve, or for help when you’re stuck, asking questions will only help you move forward. If you’re looking to improve as an artist, or simply want to hang out with people who share your passion, I strongly urge you to join me and many others at The DiNusty Empire which is a great place to learn, with super friendly people (Din who owns the Discord server doesn’t pay me for advertisement, but he really should).